When I first bought my Silhouette, I was a little bit overwhelmed with the software and the capabilities of the machine, so I decided to go to a local class to become acclimated with it. I was pleasantly surprised to find that the software interacts very similarly to Photoshop in design aspects, so I became much more comfortable with it. The class helped me to figure out the general process for cutting and I wanted to share some basic info with you today, just in case you are new to the machine or need a little refresher course.
The following information is how I cut and apply vinyl to a project, but the general cutting information would hold true for any cutting project. Two important things I learned about using my Silhouette with vinyl:
** Glossy Vinyl = Permanent (use on most projects such as cups, etc. that will receive hard use)
Matte Vinyl = Removeable (use on walls or other short-term projects that you will want to easily change)
**You do not have to use a full sheet of vinyl when cutting. This may seem self-explanatory to you, but, it was quite freeing for me to know that I could just cut a small piece and save the rest. Of course, it also means that I can save every scrap because it could be used at a later time. This is especially important when you are doing a design with different colors or several designs at one time, which I often do.
This particular tutorial is for basic, one-color vinyl cutting and application.
Let's get started.
2. I don’t have a picture of this part, but . . .If you are using a brand new cutting mat, it will be too sticky. This sounds weird, but turn it face down on a rug or other fabric surface and press down and remove a couple of times to make it a little bit less sticky. If you don’t do this, you may not be able to get your pieces off after cutting.
3. Position the piece of vinyl on your cutting mat, in the same spot as your design is located.
4. Click on the “Cut Settings” icon in the top right of your Silhouette software. Here you will see all the settings appropriate for your cut. Be sure that you have selected “vinyl” as your material type.
5. Now, take your blade out of your machine by turning the handle to the left so that it will pop up. Check what number it is set on. (Mine was set on #3).
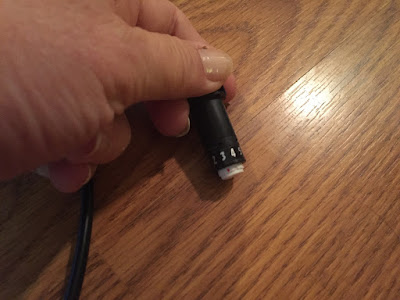
6. Looking back at my “Cut Settings”, I can see that the recommended blade setting is for #1. Personally, I have found that it does not always cut through at #1, so I prefer a #2 setting.
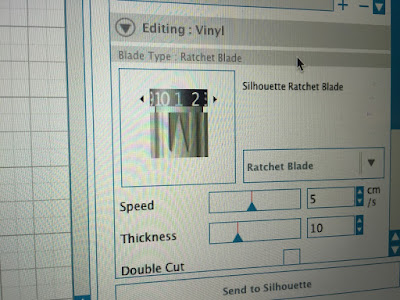
7. To change my blade, I set it in the hole in the front of my machine.
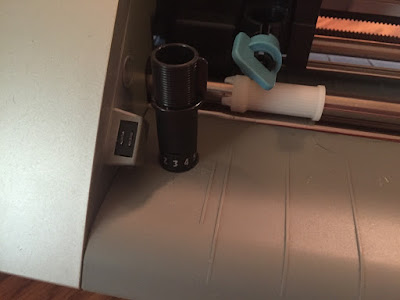
8. Turn the blade handle until you see the 2.
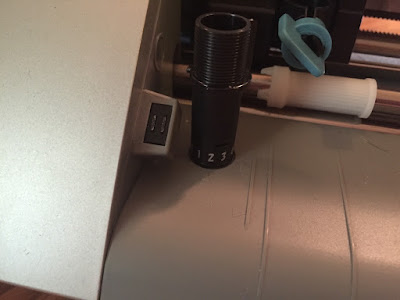
9. Drop the blade back in its holder.
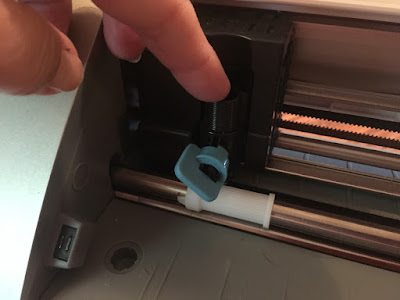
10. Turn the handle to the right to secure the blade. Now you are ready to cut.
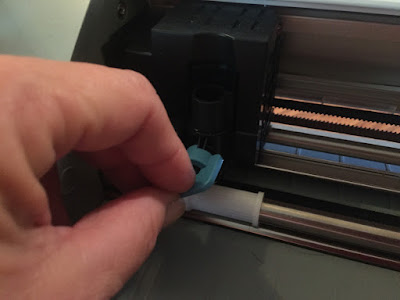
11. Load your machine by lining up the left edge of your mat with the raised line on the Silhouette bed. I keep one hand on the mat while I press the ENTER key. Occasionally, it will grab the mat and pull it in crooked. If this happens, press the ENTER key again to unload and try again. It is important that it load straight.
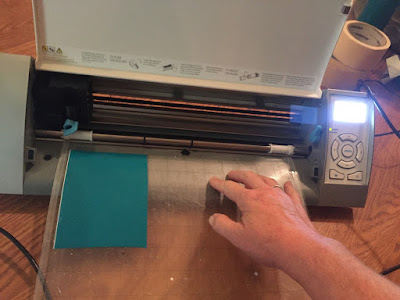
12. This is what it looks like when it is loaded and ready to go.
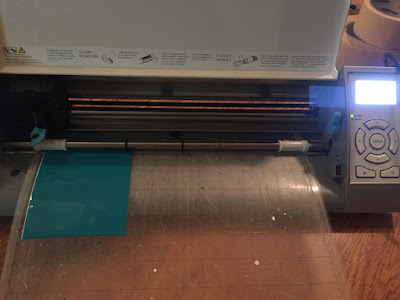
13. Be sure that you have clicked “out” of the design boundary, so that the design boundary is no longer showing. I learned the hard way that if not, it will just cut the portion of the design that is outlined and in some cases, that is not the entire design that you are trying to cut. (this picture shows the design boundary—Click out of this so it is not showing)
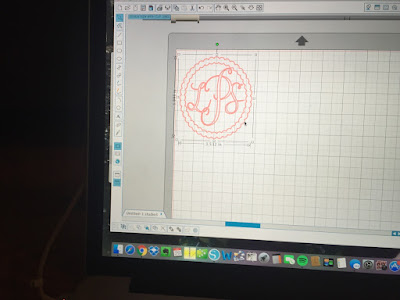
14. Press the “Send to Silhouette” button at the bottom of your screen.
15. Once cut, you will press the "ENTER" button to unload the cut. It is sometimes hard to even tell unless you have really good lighting.
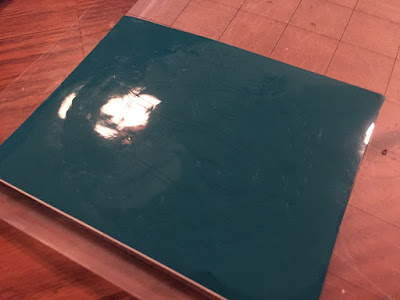
16. Carefully peel away the unwanted vinyl from around your design.
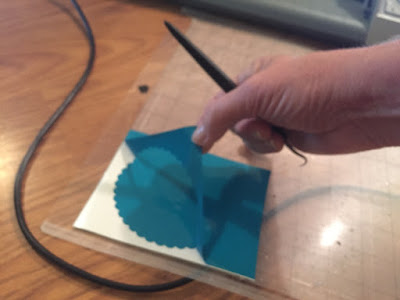
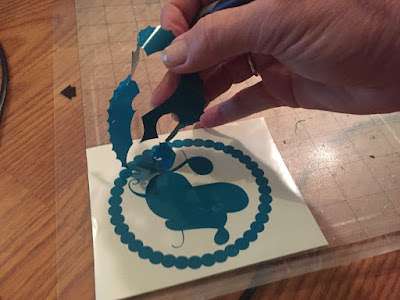
17. Use a pick to get the small inner pieces.
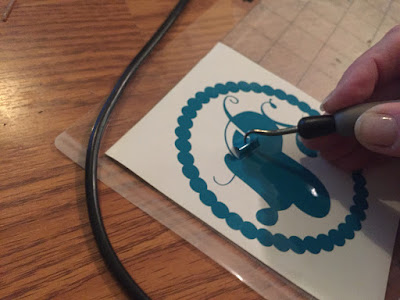
18. Cover your design with transfer tape. I try to always be sure that I have a straight line at the top and bottom to make positioning easier.
(I have some Main Tape Transfer Tape left from other projects, so that is what you will see me using. The process would be the same for Cricut brand, Expressions brand or whatever, but they might sheet style, rather than a roll.)
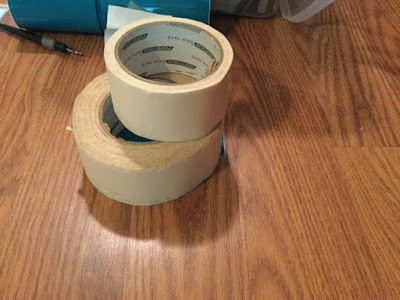
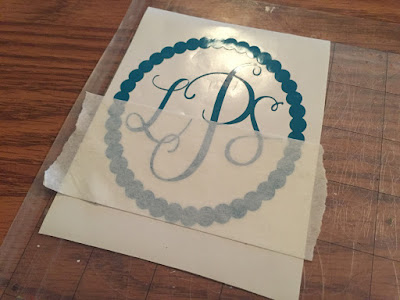
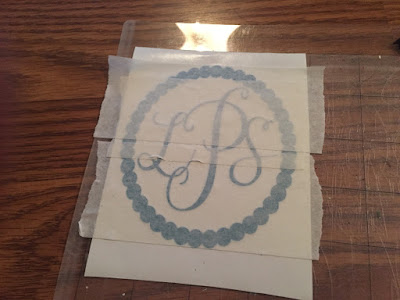
19. Use the side of your fingernail or the handle of your pick to burnish the vinyl to the tape by rubbing all over the design.
20. Carefully lift the tape from the design, making sure that the vinyl adheres in all areas.
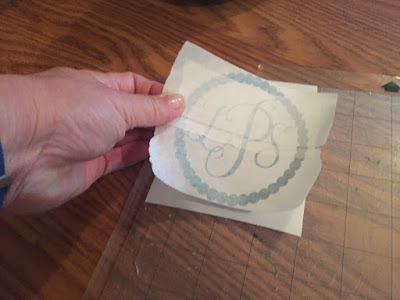
21. Place the design on your surface and burnish again with your fingernail or handle of the pick. Pay special attention to any thin, curly areas of your design.
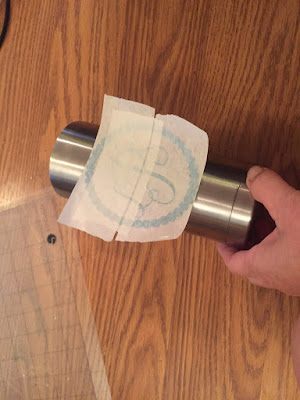
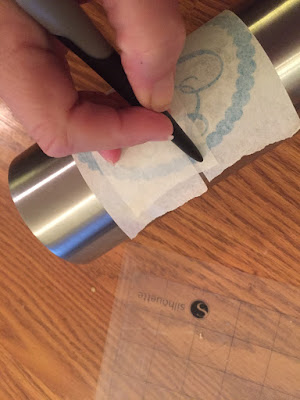
22. Lift one corner of the tape to be sure that the vinyl is adhering to the surface.
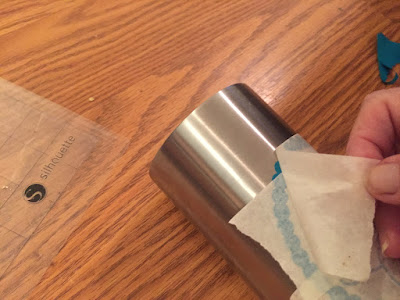
23. Slowly remove all of the transfer tape.
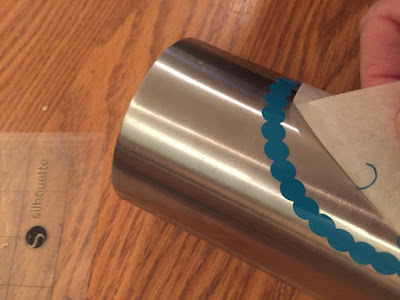
24. If you find an area where the vinyl is not sticking to your surface, place the tape back down and burnish that area again.

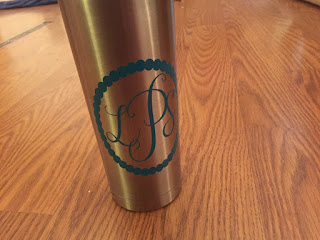
25. Remove the tape and Voila’!
The following information is how I cut and apply vinyl to a project, but the general cutting information would hold true for any cutting project. Two important things I learned about using my Silhouette with vinyl:
** Glossy Vinyl = Permanent (use on most projects such as cups, etc. that will receive hard use)
Matte Vinyl = Removeable (use on walls or other short-term projects that you will want to easily change)
**You do not have to use a full sheet of vinyl when cutting. This may seem self-explanatory to you, but, it was quite freeing for me to know that I could just cut a small piece and save the rest. Of course, it also means that I can save every scrap because it could be used at a later time. This is especially important when you are doing a design with different colors or several designs at one time, which I often do.
This particular tutorial is for basic, one-color vinyl cutting and application.
Let's get started.
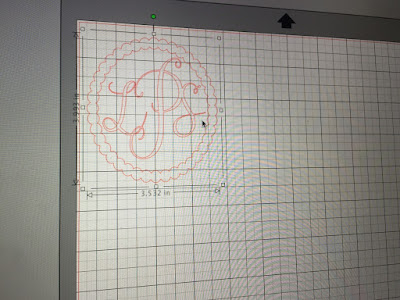
- I always move my image to the upper left corner, to conserve as much space as possible. Looking at the measurements, I can tell that I will need a piece of vinyl approx. 4"w x 5" tall.

2. I don’t have a picture of this part, but . . .If you are using a brand new cutting mat, it will be too sticky. This sounds weird, but turn it face down on a rug or other fabric surface and press down and remove a couple of times to make it a little bit less sticky. If you don’t do this, you may not be able to get your pieces off after cutting.
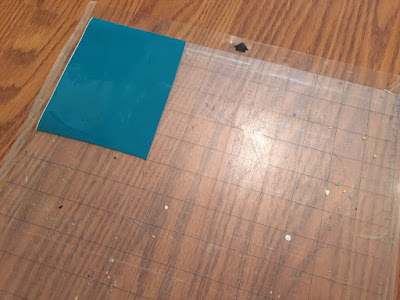
3. Position the piece of vinyl on your cutting mat, in the same spot as your design is located.

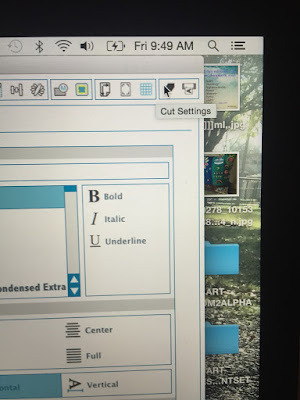
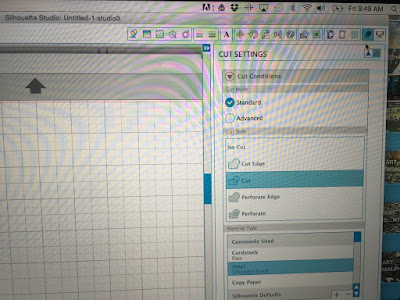
4. Click on the “Cut Settings” icon in the top right of your Silhouette software. Here you will see all the settings appropriate for your cut. Be sure that you have selected “vinyl” as your material type.


5. Now, take your blade out of your machine by turning the handle to the left so that it will pop up. Check what number it is set on. (Mine was set on #3).

6. Looking back at my “Cut Settings”, I can see that the recommended blade setting is for #1. Personally, I have found that it does not always cut through at #1, so I prefer a #2 setting.

7. To change my blade, I set it in the hole in the front of my machine.

8. Turn the blade handle until you see the 2.

9. Drop the blade back in its holder.

10. Turn the handle to the right to secure the blade. Now you are ready to cut.

11. Load your machine by lining up the left edge of your mat with the raised line on the Silhouette bed. I keep one hand on the mat while I press the ENTER key. Occasionally, it will grab the mat and pull it in crooked. If this happens, press the ENTER key again to unload and try again. It is important that it load straight.

12. This is what it looks like when it is loaded and ready to go.

13. Be sure that you have clicked “out” of the design boundary, so that the design boundary is no longer showing. I learned the hard way that if not, it will just cut the portion of the design that is outlined and in some cases, that is not the entire design that you are trying to cut. (this picture shows the design boundary—Click out of this so it is not showing)

14. Press the “Send to Silhouette” button at the bottom of your screen.
15. Once cut, you will press the "ENTER" button to unload the cut. It is sometimes hard to even tell unless you have really good lighting.

16. Carefully peel away the unwanted vinyl from around your design.


17. Use a pick to get the small inner pieces.

18. Cover your design with transfer tape. I try to always be sure that I have a straight line at the top and bottom to make positioning easier.
(I have some Main Tape Transfer Tape left from other projects, so that is what you will see me using. The process would be the same for Cricut brand, Expressions brand or whatever, but they might sheet style, rather than a roll.)


19. Use the side of your fingernail or the handle of your pick to burnish the vinyl to the tape by rubbing all over the design.
20. Carefully lift the tape from the design, making sure that the vinyl adheres in all areas.

21. Place the design on your surface and burnish again with your fingernail or handle of the pick. Pay special attention to any thin, curly areas of your design.


22. Lift one corner of the tape to be sure that the vinyl is adhering to the surface.

23. Slowly remove all of the transfer tape.

24. If you find an area where the vinyl is not sticking to your surface, place the tape back down and burnish that area again.

25. Remove the tape and Voila’!